Adventures in Privacy - Part 1: Keys everywhere!
Ever since the huge Equifax breach that pretty much spooked the living hell out of over 100 million people in the United States, I have been acutely aware of anything regarding privacy. It has long been a known fact that corporations not only poorly protect our data, but also sell all of our information to third parties, for usages such as ad targeting. However, if this happens, there is no limit to what other data corporations may have on us and sell to others, even personally identifiable information, like private conversations or the places we visit. Even though I am most likely unaffected by most of the aforementioned breaches, I am still rather annoyed that a company this large and important could be this careless with people’s information. As such, since companies can’t be bothered to protect my data, I’ll do it myself.
Now, naturally, as you can probably imagine, when I finally had another side-project to do, I instantly took it upon myself to procrastinate as much as humanly possible. And since school had nothing stimulating at the time (except do everyone else’s homework), it was the perfect opportunity to start securing my life.
So, what do we deal with first?
Passwords
By far the easiest thing to take control of are your own passwords. Commonly, people use Firefox’s Password Manager or Google Chrome’s not so safe alternative, which are easily integrated in the browsers to keep your life “secure”. While I don’t personally blame you for using these, I can assure you that Google gets all of your password information for all your accounts. If you don’t believe me, allow me to present to you Google Takeout.
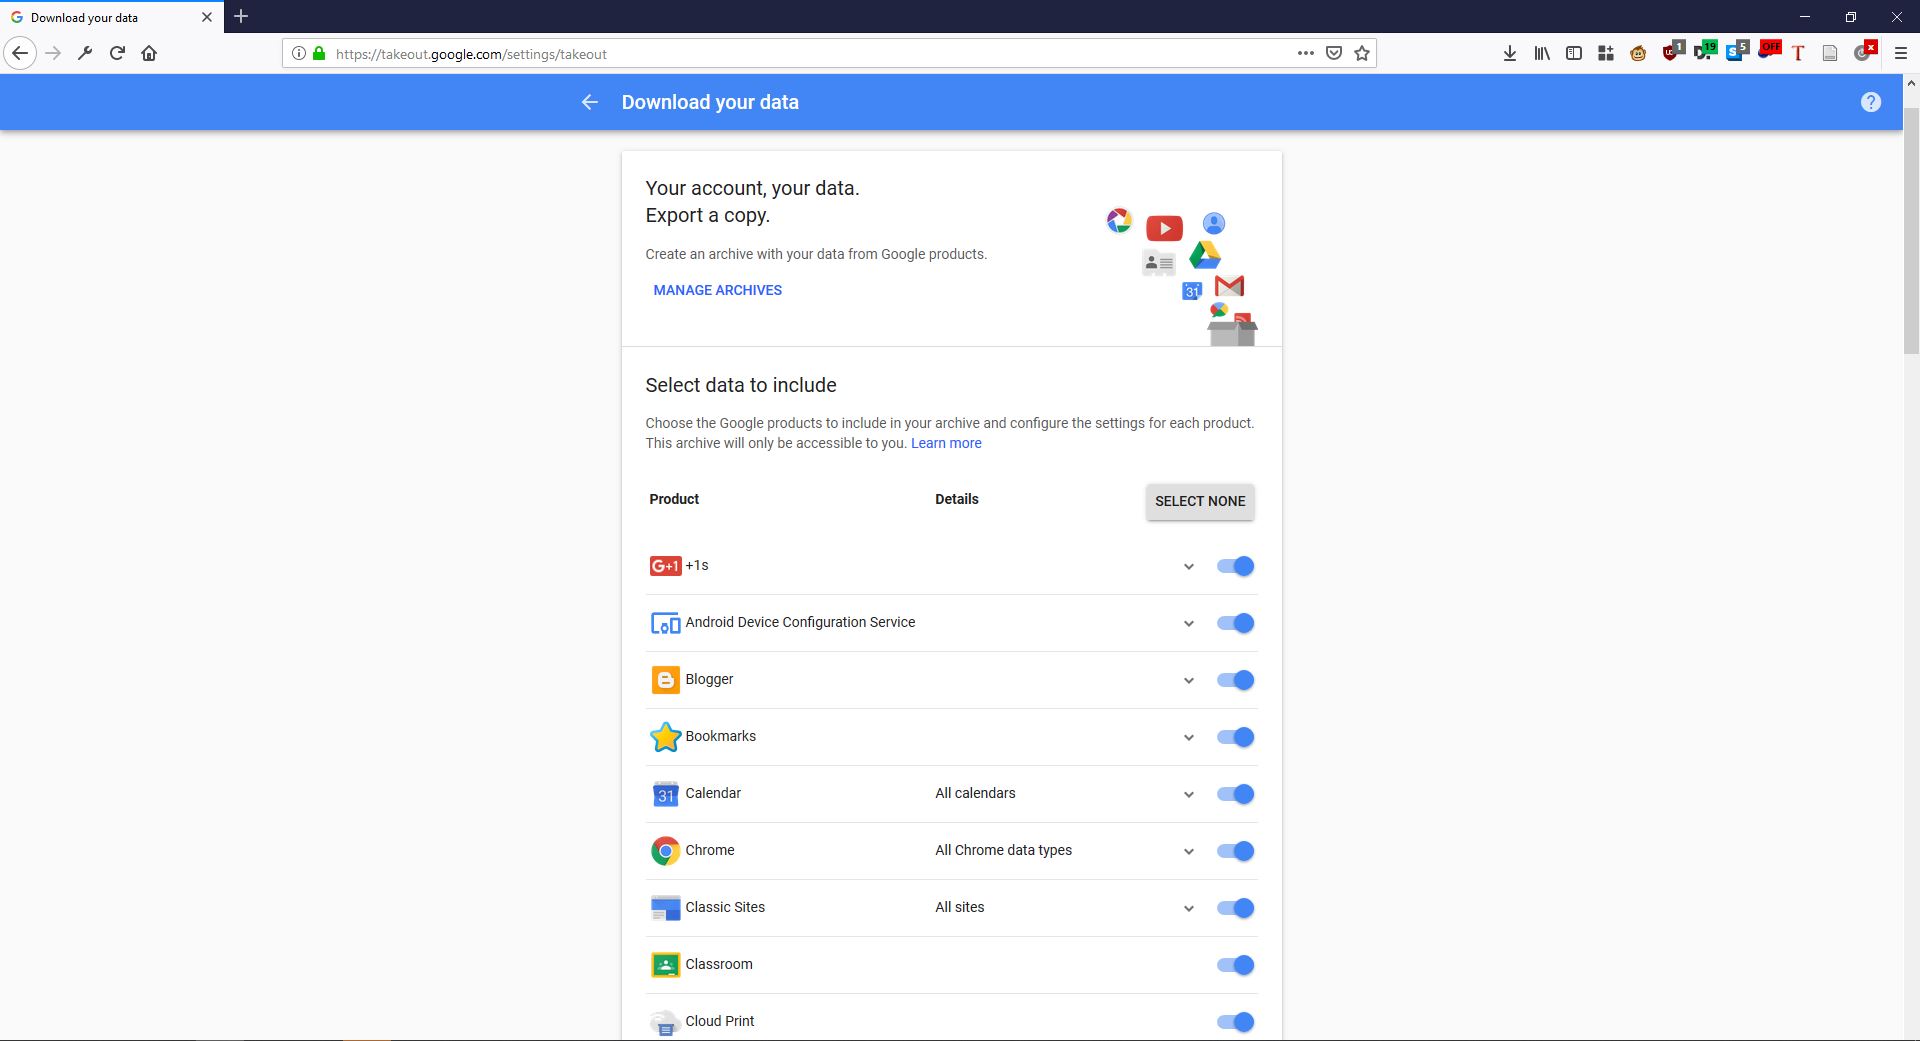
Google Takeout is a rather useful (and ethical) service that Google offers in order for you to request a backup for all of the data that you Google account possesses, from YouTube subscriptions to Google Drive files.
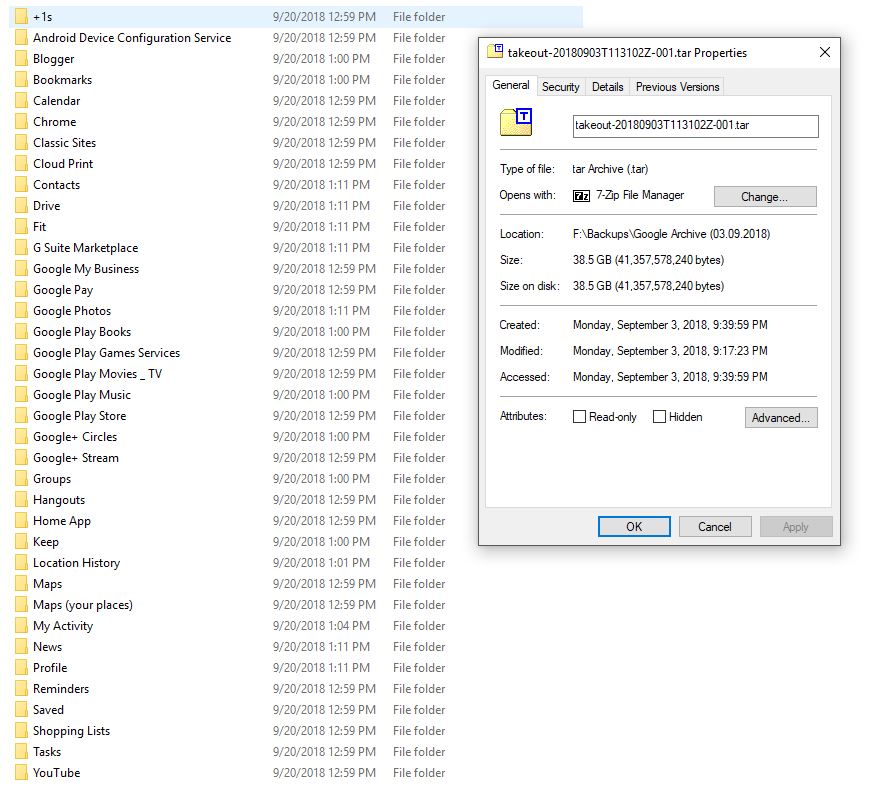
Holy cow, 38GB! That’s massive!
This way you can get all the information that Google has on you, while also getting some nice organized files to boot! For instance, I used this service to create vCard files of all my Google contacts to import in my personal e-mail client, Thunderbird (if you don’t like Outlook and your browser’s slow, check it out). Lo and behold, right there you can find all your sweet password information that Google has on you. (More specifically, in the “Chrome” folder, under AutoFill)
There are many ways to store your passwords locally and securely, and by far the two most popular ones are KeePass for Windows and pass for Linux. Both are really powerful, but different in functionality. KeePass uses a .kdbx file that contains all the passwords, while “pass” just has a Git repository containing GPG-encrypted files. I personally use KeePass since it also has some cross-platform functionality, such as Keepass2Android for Android and MyKeePass for iPhone.
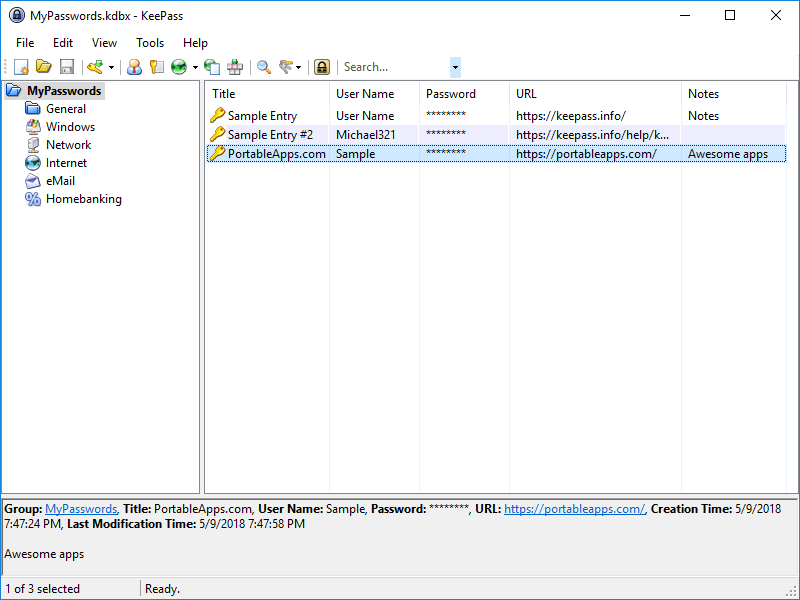
Both work surprisingly well and allow for some pretty neat features. “pass” just has a text-file, so you can write whatever you want with it, which is very flexible, and KeePass has many features such as auto-expiring keys, URL entries, auto-typing etc.
So now, I have all my passwords locally saved, safely locked. However, my master password was 256 characters long, something I couldn’t remember. Now I couldn’t just have a plain text file going around with my password. So I had to improvise…
A little detour from passwords to DigiSparks
“The easiest way to remember a password is to have some other device remember it for you.”
-Me, when too lazy to remember a password
I mean, I had a point. But not too much of one. In hindsight, it would’ve been better if I just never did this, but I am young, I can make mistakes. I very quickly had my eyes set on a particular device that could solved my problem, called DigiSpark. A DigiSpark is a little ATTiny85 circuit with a USB on it that you can program just like an Arduino. It’s super cheap (just $8) and you can use for some pretty fun stuff. For instance, you can program it to act like a Human Interface Device, which can send keystrokes to the computer. You can script a specific string of characters for the DigiSpark to send to a computer on demand. Sound familiar?
And they’re just 8 bucks…uuhhh…
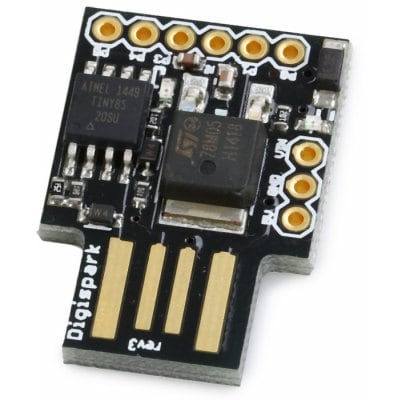
Instant buy!
Yeah, I got two. Anyway, I quickly programmed them to quickly output the 256-character master password on any computer after plugged in for 3 seconds. Put in, pull out, logged in. Easy enough for cheap, right?
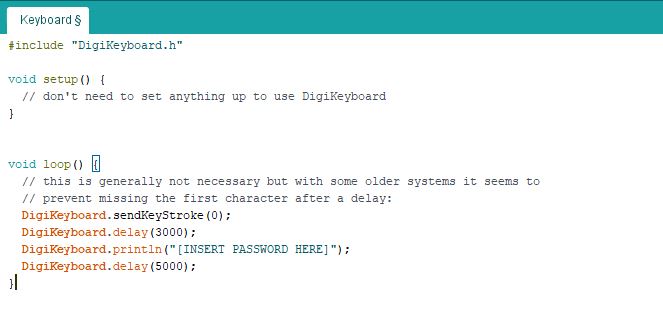
And up top you have the source code, which you would find anyway under “File” > “Examples” > “DigiSpark” > “Keyboard”.
So now that’s done. What next can I secure?
Encrypting files
Well, this ain’t fun.
Let me tell you how fun it is to try and keep all your files encrypted safely (it’s not). In fact, it’s so fun that I literally quit procrastinating on that. Nah, just kidding, why would I do that?
Anyway, I wanted to encrypt some files because I had a few surprises I didn’t want anyone to see beforehand, particularly some birthday cards. After that, I started realizing the full value of keeping your files safe. It’s much like keeping your files on the cloud, but far less likelihood of someone stealing your information, which is always good.
The best way to encrypt files, by far, is to keep them encrypted where they always stay in anyway, and the solution to that problem is GPG.
GPG
GNU Privacy Guard is known to be the top free open-source program for encrypting and decrypting files for either storage or e-mail communication.
If you don’t know how GPG works, it’s pretty simple. Essentially, there are two files that you have GPG:
- a private key, that you keep to yourself and use to decrypt or sign files, e-mails, etc.
- a public key, that you share with others and use to encrypt or verify files, e-mails, etc.
You need both to have a GPG keypair, but you don’t share the private key with anyone! Once you have both, you can use them to encrypt and decrypt files, e-mails or just short messages, maybe even streams of data! The concept essentially works using asymmetric encryption, which is generated when creating the keypair. Using GPG is simple, but configuring it is the hard part. So, let’s get started on that!
Configuration hell
First off, I had to make some keys. Now there are too many tutorials online on how to do that, but by far the best one (and the one I used) is this one. However, the tutorial does not have an alternative for Windows. To get GPG for Windows, you’ll need GPG4Win (very original name). After the installation process, both versions of GPG are pretty much the same, except for maybe file paths.
When you finish generating your keypair, you’ll get a nice little key with a key ID. Note that down, you’ll need it. It’s a 8-character string, like mine:
AB9B94AA
After that, I also added a passphrase of 64 characters, with these commands:
|
|
I (obviously, because why not) kept the passphrase in the password database (I realized later that might be a bad idea, but I’ll fix that later, don’t worry).
Now this worked for quite a while, and I would either use GPG4Win’s UI, Kleopatra, to encrypt keys, or use the command-line (the superior choice):
|
|
I also put my public key on the MIT PGP keyserver, so that anyone can download and use it if they want to send me something.
|
|
If I wanted to send encrypted documents to others, I’d use their recipient e-mail address, provided my GPG installation has their public key in the keyring. You need to ask your friend for it, and you can either get it from a keyserver like this:
|
|
Or just get it from a public keyfile they might have sent you, like this:
|
|
Make sure to backup all of your important keys somewhere safe:
|
|
Once you got the basics down, you’re pretty much set!
So, now I’m done with that. I need something else to waste my time with. Uh, let’s see…
Hold up, I need a Google search.
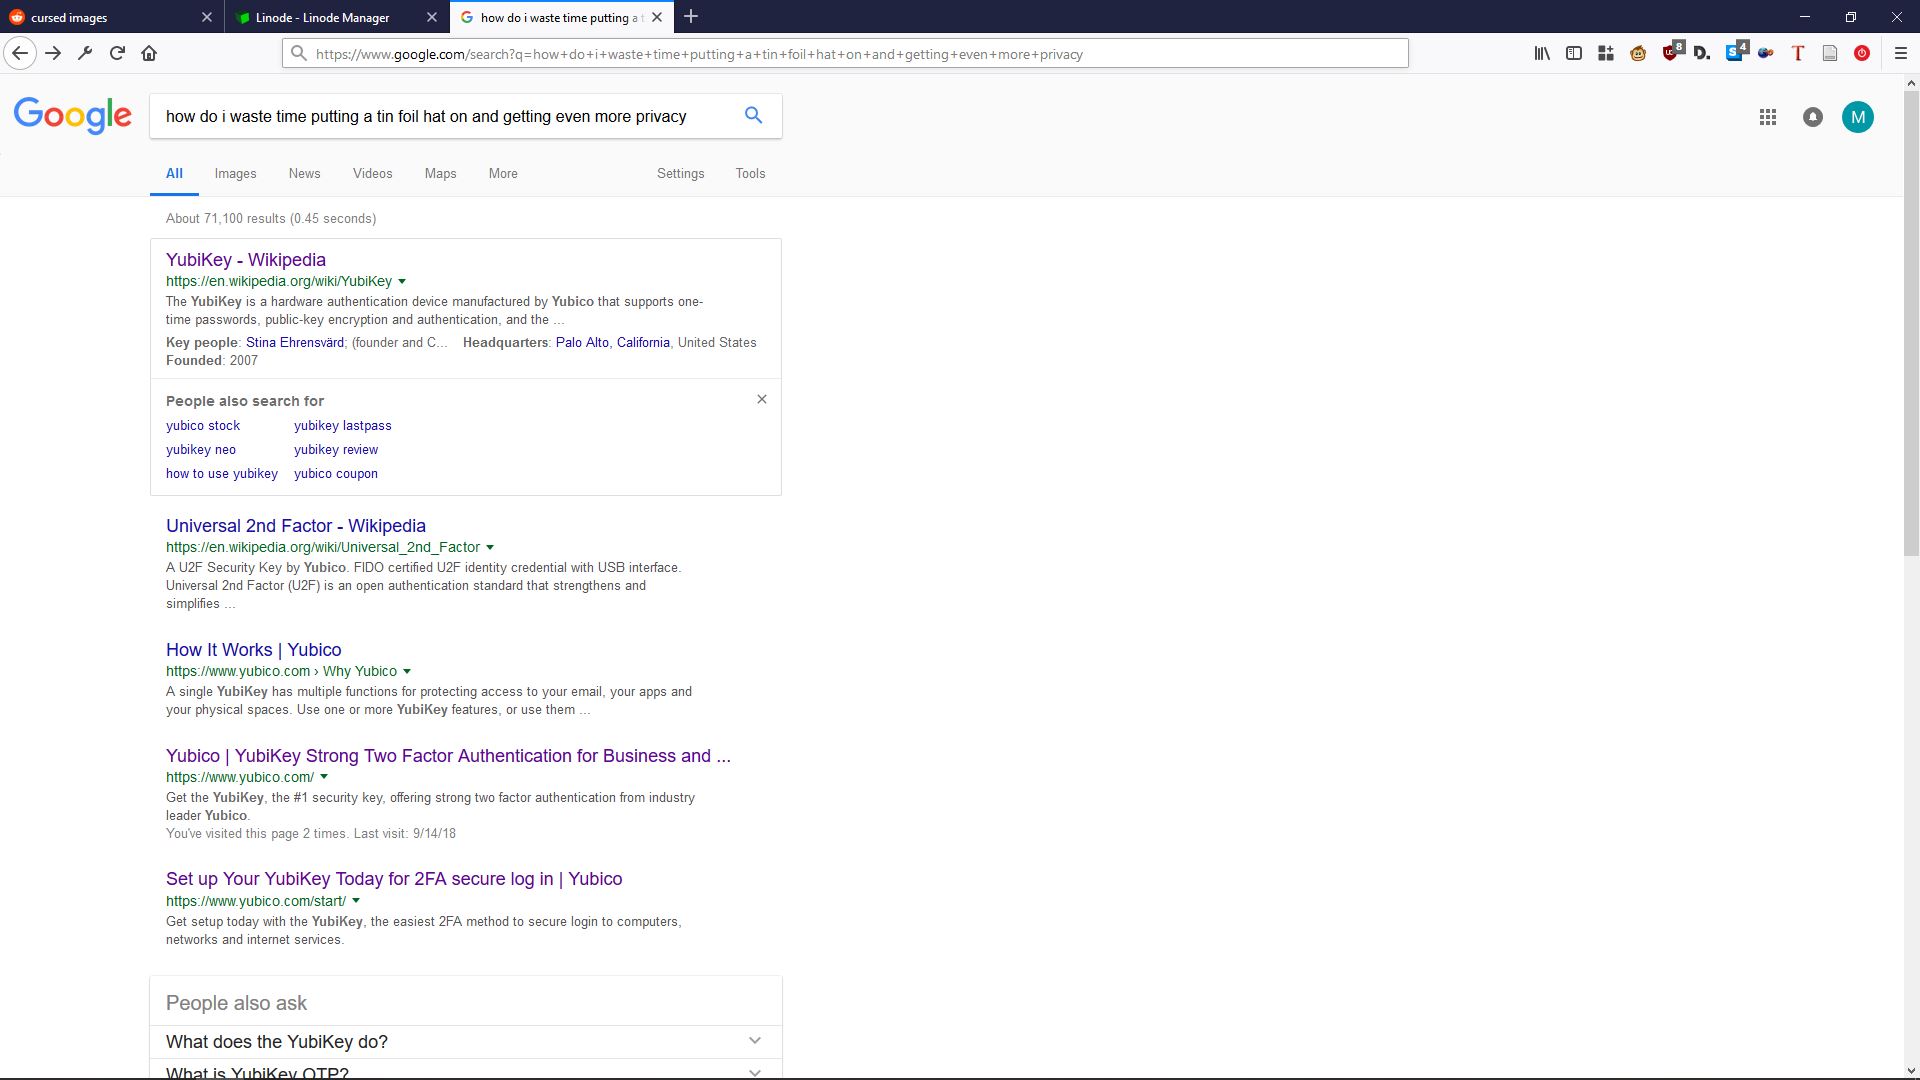
Oh, nice! Let’s get them!
Security keys
The pinnacle of online security: a physical security key!
A security key can be used to lock many different services behind a physical device that you keep on you. There are many DIY versions of this (technically my DigiSparks are a kind of security key), but by far the most reliable and popular are the Yubikeys. I personally bought the Yubikey 4 and Yubikey NEO, since I wanted one to use for my phone and one for the computer as backup. I know, they’re not Series 5, but I bought them before those were released by 3 days. Just my luck.
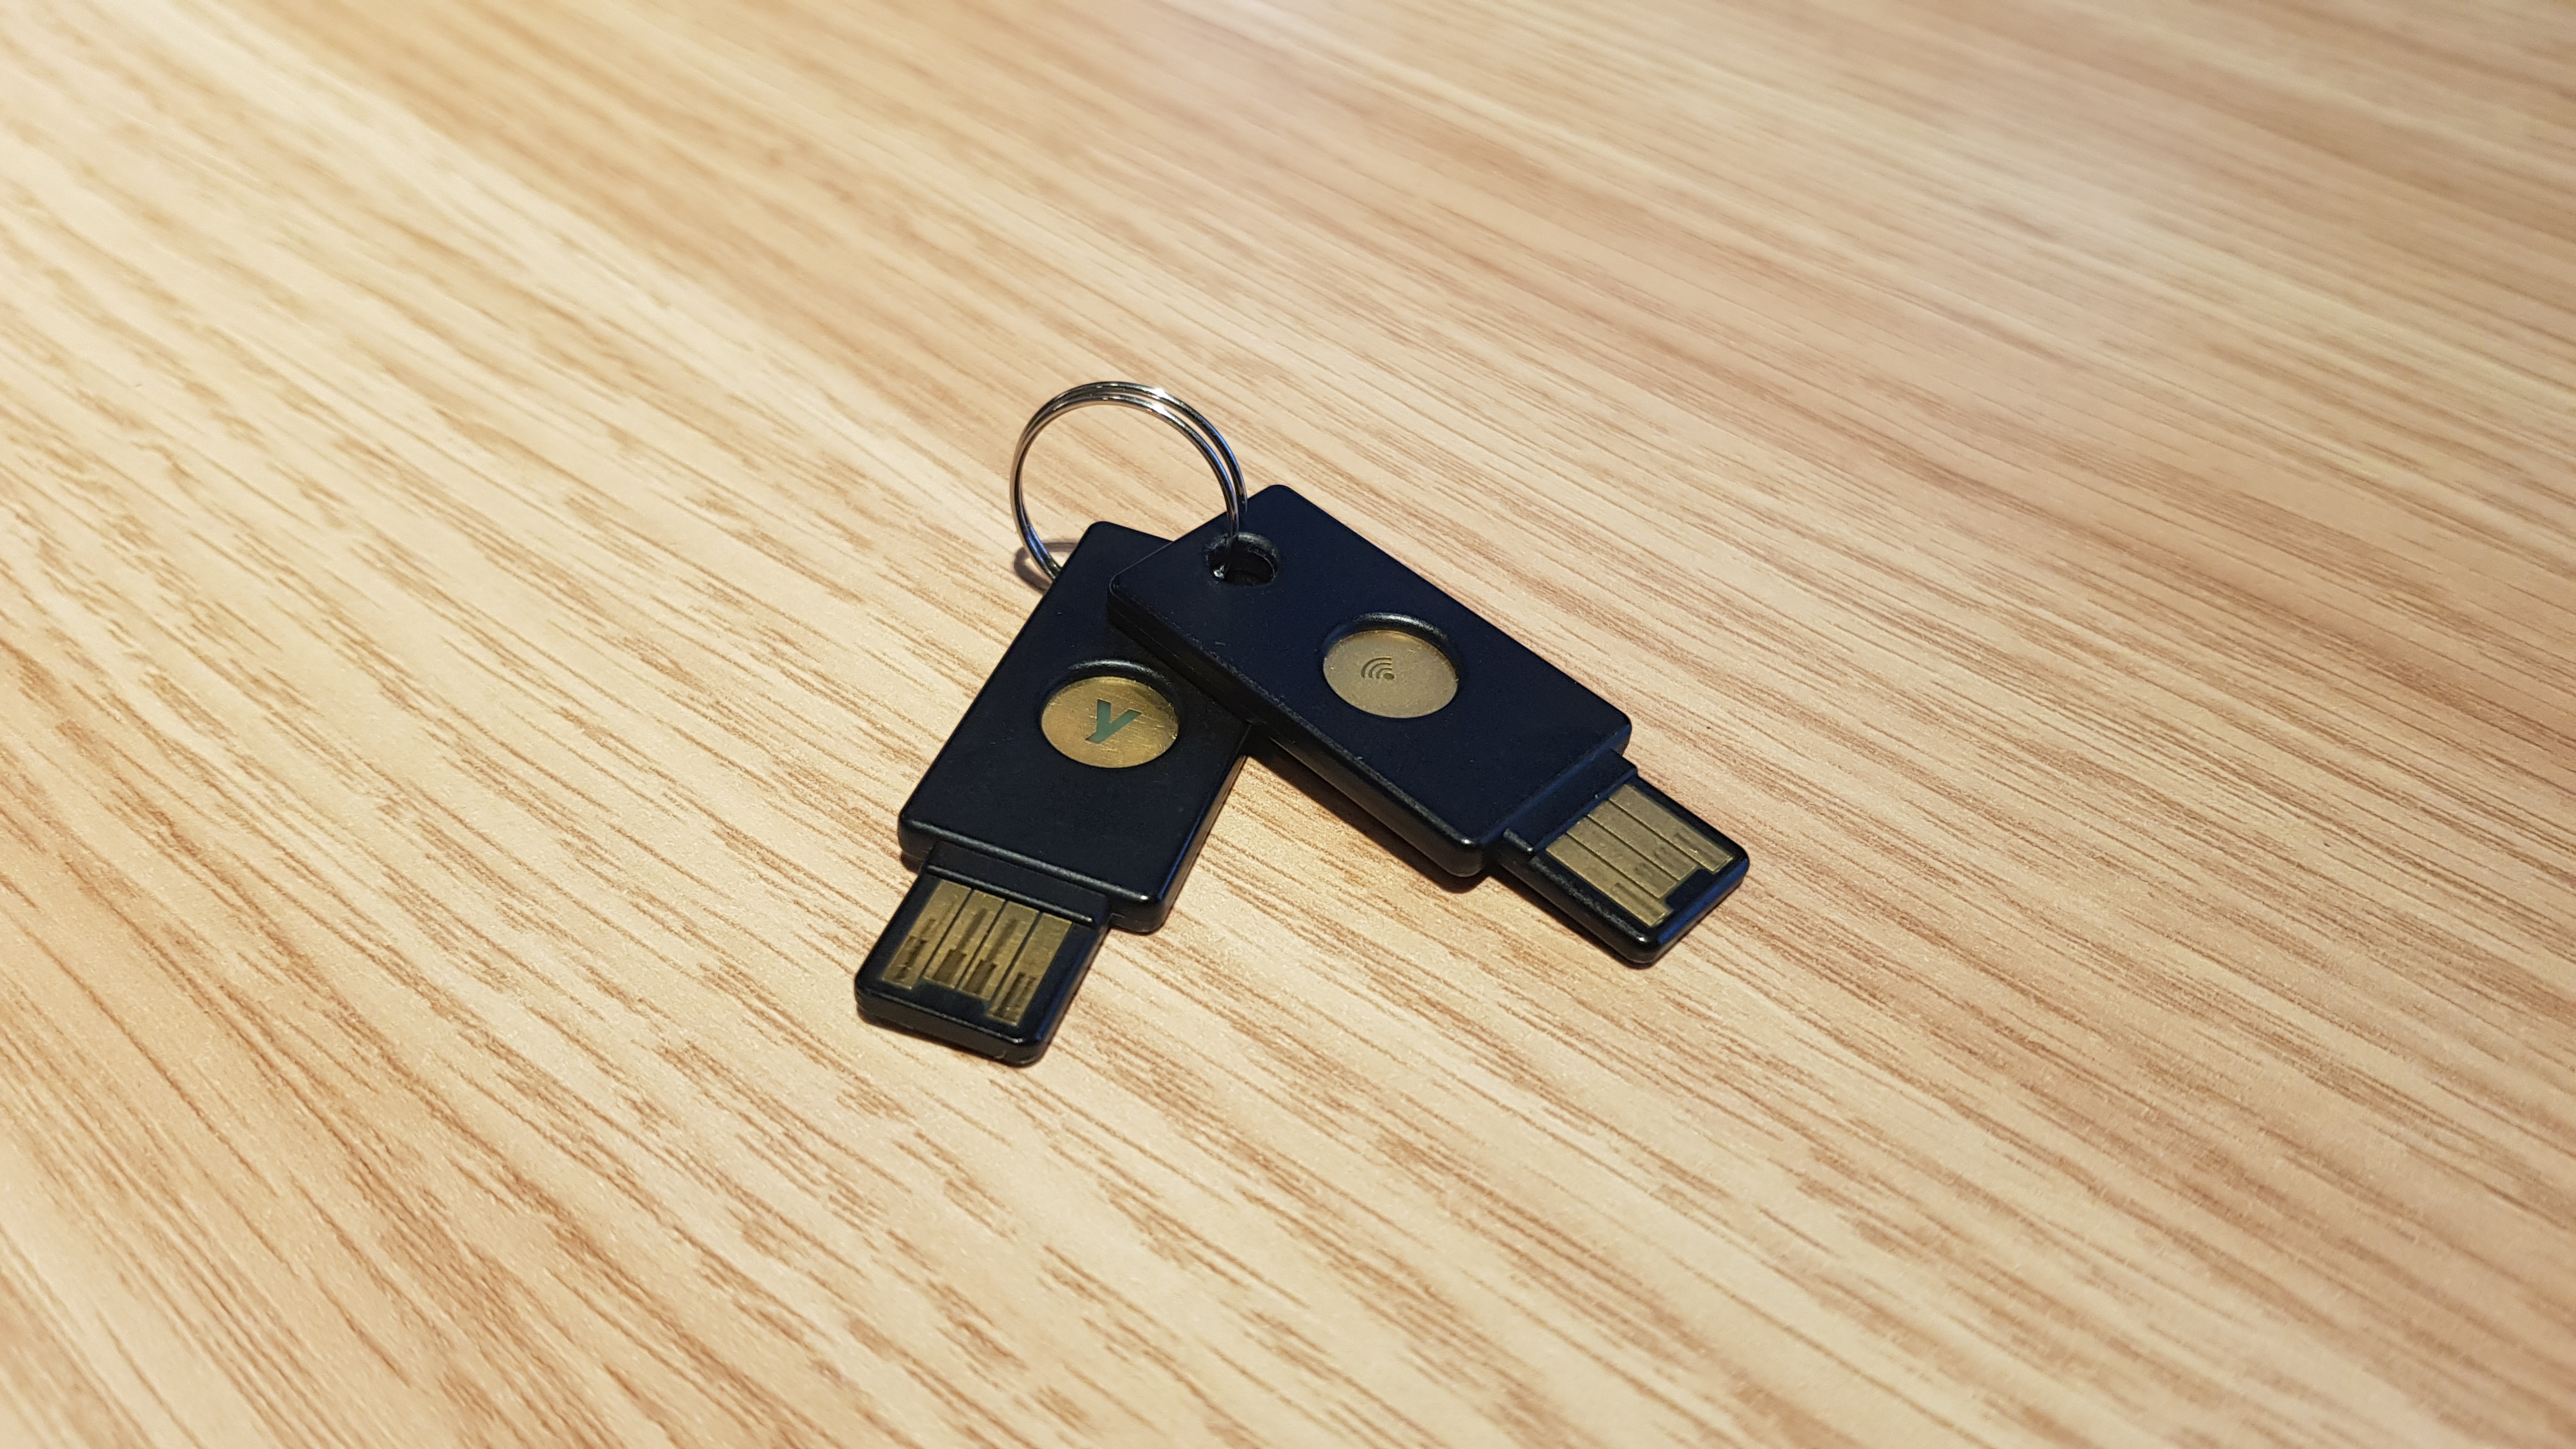
Now, the Yubikey can be used for a ton of stuff. They support FIDO U2F, so you can use them to have 2-factor authentication for Google, Twitter, Facebook, GitHub, Dropbox, etc. This is already pretty useful instead of typing the same codes all the time, right? Additionally, they can store different security standards for other programs, including GPG and KeePass ;)
So you can guess what comes next…
Integrating Yubikey 4 with GPG
This is obviously pretty annoying and hard, so I won’t pad this article much more. A good tutorial I found is by @ageis and you can find it here. It’s pretty damn comprehensive, but you need to remember a few things. Yubikey NEO only supports 2048-bit GPG keys, so if you did those, then you’re fine, but if you generated 4096-bit GPG keys (like I did), then you need to use the Yubikey 4 for that.
After using the GitHub gist above, I can just plug the Yubikey in my computer whenever I use GPG and I get a sweet prompt for the PIN to use the Yubikey. I just input the PIN, and done!
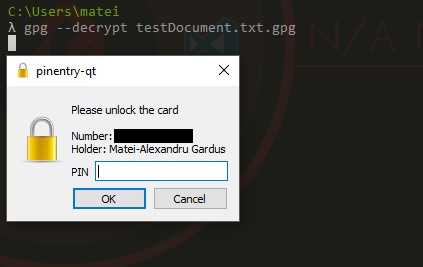
And I get a shiny green “verified” badge on every GitHub commit. Sweet! But that’s a bit more work, which I’ll explain in a future blog post, probably.

What next?
There are many things that I still want to do in order to have more privacy and security on the Internet. A few of the next projects will be to:
- get a personal cloud drive
- integrate my devices with push notifications between each other
- …who knows what else?
I hope you enjoyed my little trip through needless additional encryption of my life.